

This week I wanted to share the process I followed for lining a hand knitted coat, just in case anyone out there is wondering how to create a pattern for lining one of their own. The process is the same regardless of the yarn or pattern you use – or it should be similar to this one.
For information, I knitted the Holt coat by Kim Hargreaves in Rowan Big Wool. I used 10mm needles to create a very chunky fabric. My friend and I are calling it the Sunshine Coat because it’s so cheerful looking – and who else is fed up of seeing dark colours in winter? We definitely are!
So…drum roll please, here is the finished Sunshine Coat in all its glory!


Delivery took place on Sunday, and as you can see, my friend’s happiness matches the cheery combination of yellow and soft lavender! It fits beautifully too – although I should remind you/note that the size modelled is one smaller than my friend would normally wear. The coat has a very generous fit, so if you have plans to make it and would prefer a more fitted look, I would recommend going a size smaller than your usual. But do check the finished dimensions on the spec drawing and measure yourself – we did, to be absolutely sure.
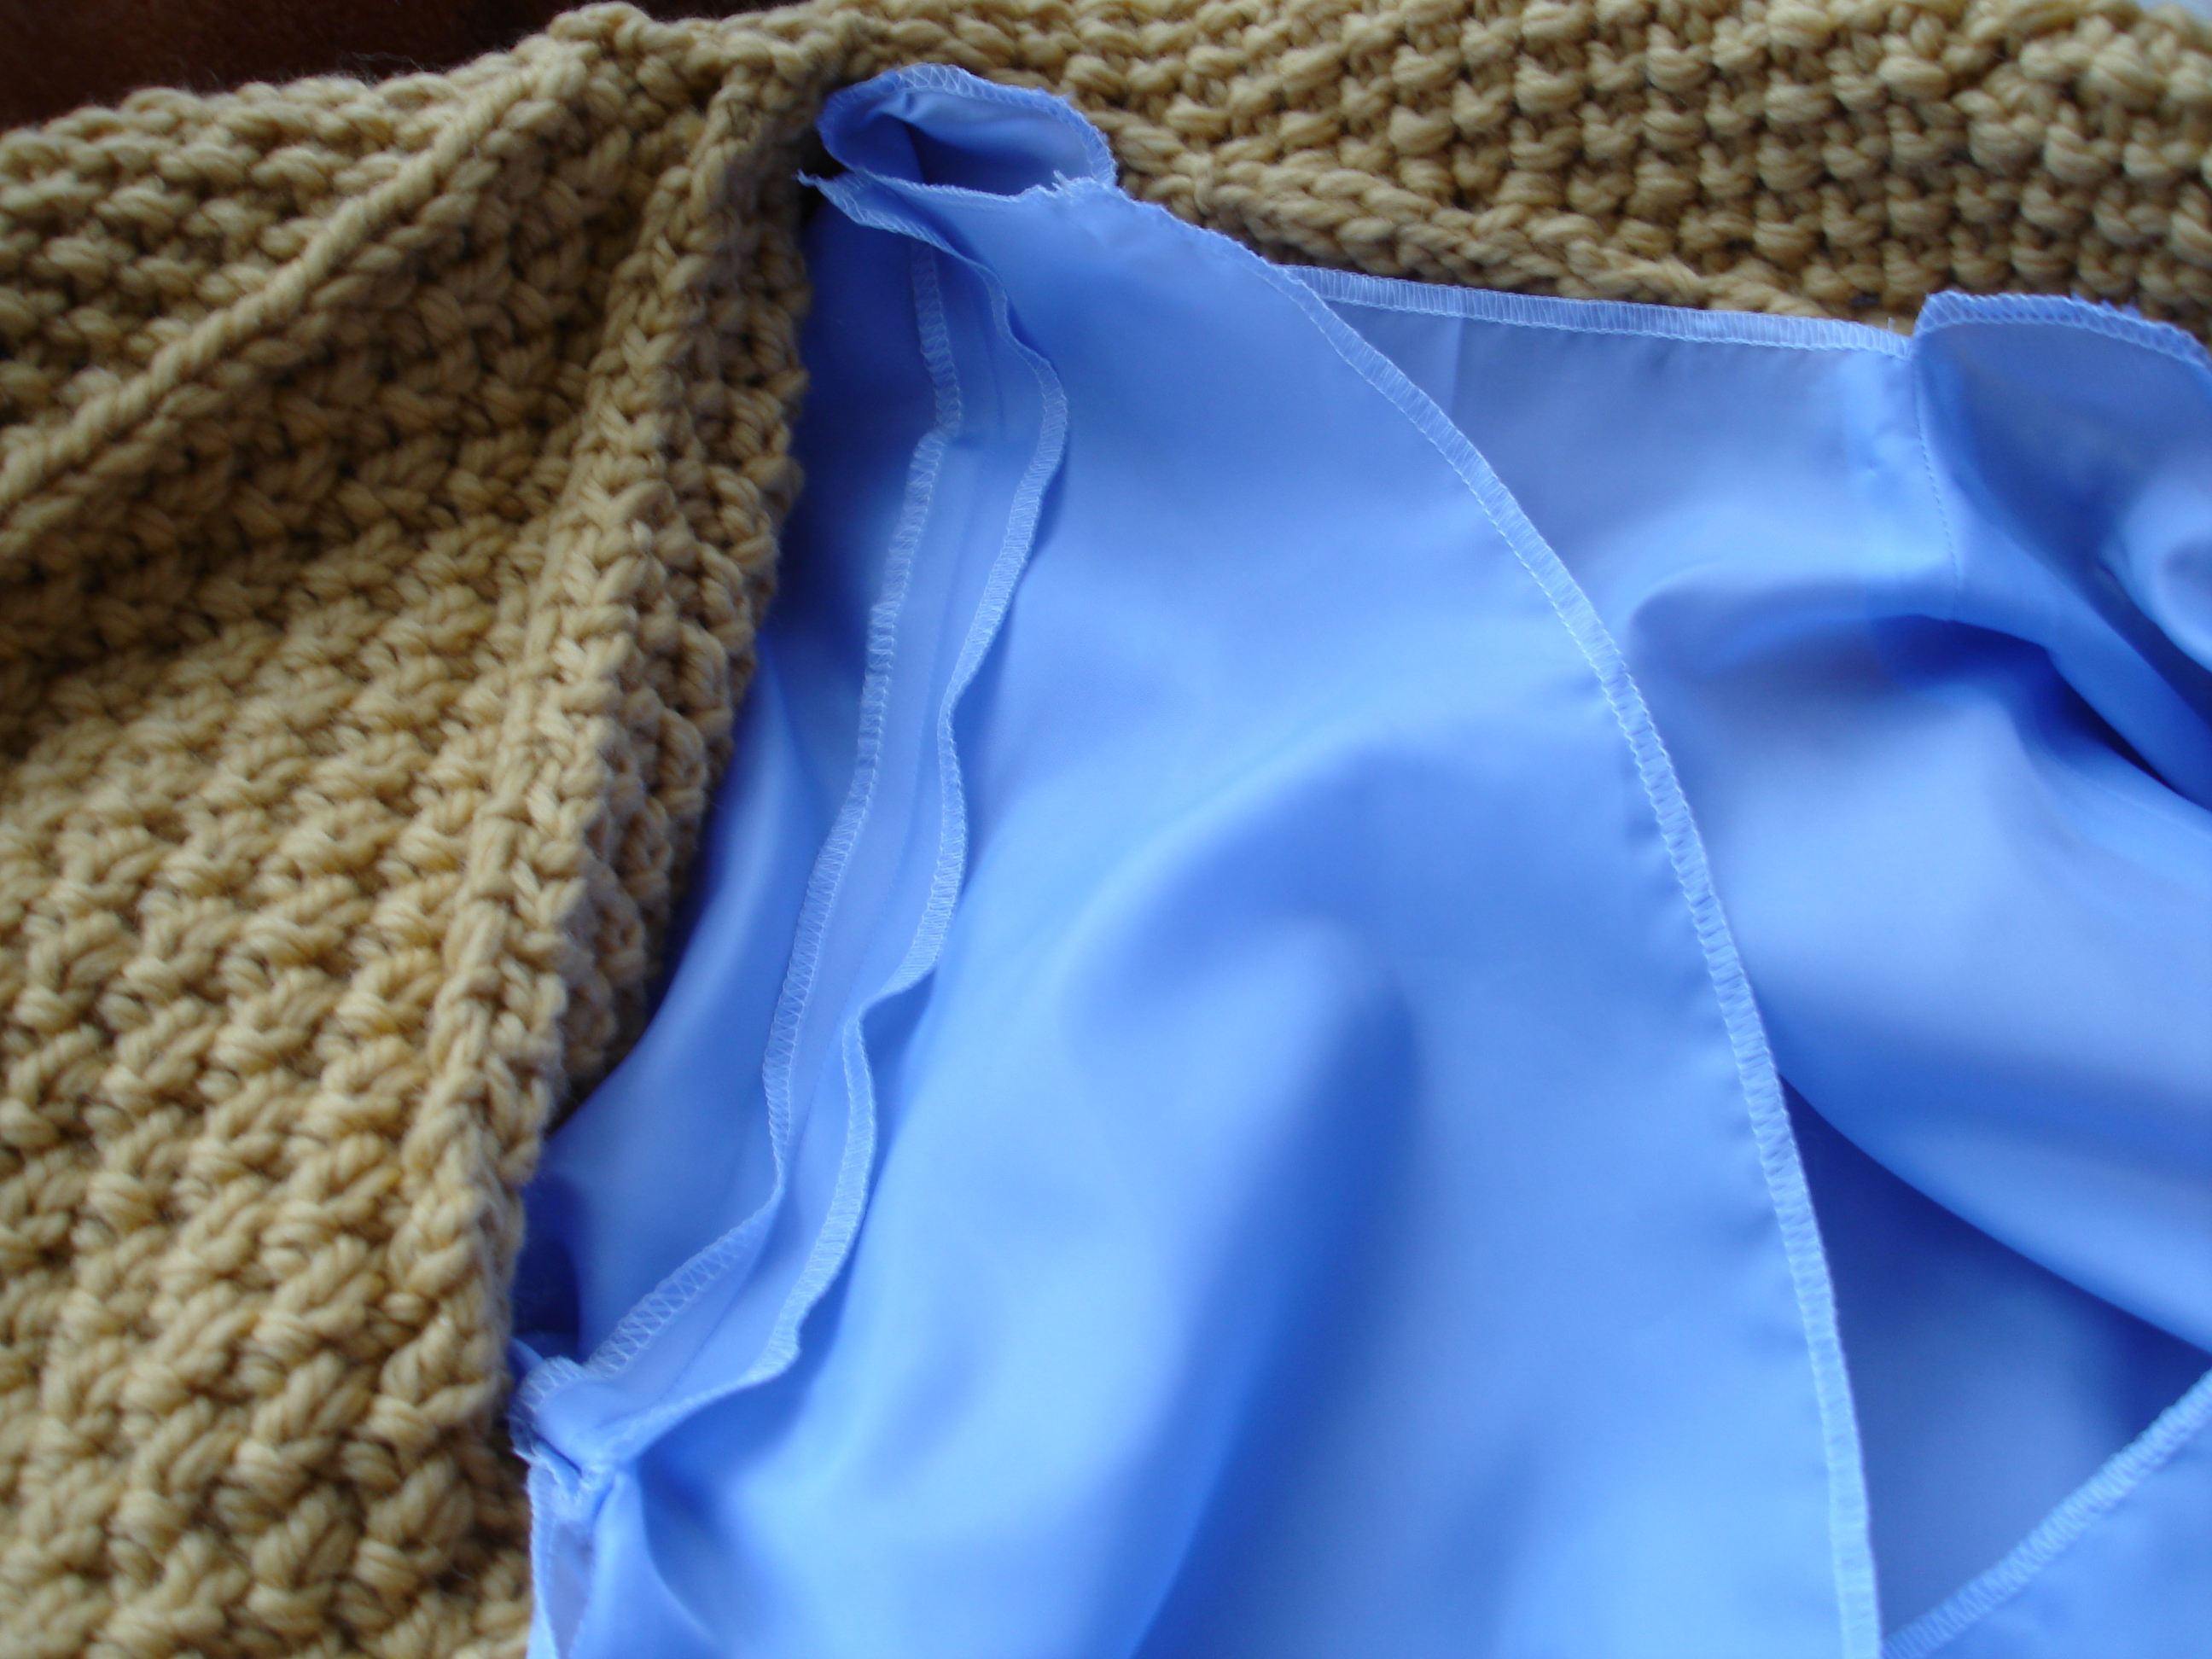
The last thing I’ll share is how I constructed and inserted the lining. I recommend it for coats like this because it gives the garment more structure, durability and strength. Because the lining takes the weight of the coat and is in a woven fabric, it’ll last much longer. There’ll be the option of storing the coat on a hanger as well as keeping it folded in a drawer. And the hanger is probably the better option too.
How to make a lining pattern
To make the lining you will need:
- a long ruler (a metre long if possible);
- pattern paper (you can get this from most good haberdashery stores). This is lightweight and no more than 70gsm (regular printing paper is 90gsm) so that you can see through it to trace lines. Things like dot and cross paper, Swedish tracing paper, or anything marked for use for clothes making is fine;
- scissors;
- pencil; and a
- pattern master/set square/French curves.
- We purchased 2 metres of lining fabric, 150cm wide.
Before doing anything else, make sure you block or press the finished pieces of the knitting to size – this is VERY important. If they don’t lie straight, you will end up with wonky pattern pieces. Woven fabrics are far more rigid and unforgiving than knitted fabrics, so they must be cut accurately.
1) Using your garment pieces as a template, carefully trace around each one. If you’re using dot and cross paper, making sure that the vertical line of each is lined up with the grid-like pattern that the dots and crosses make.

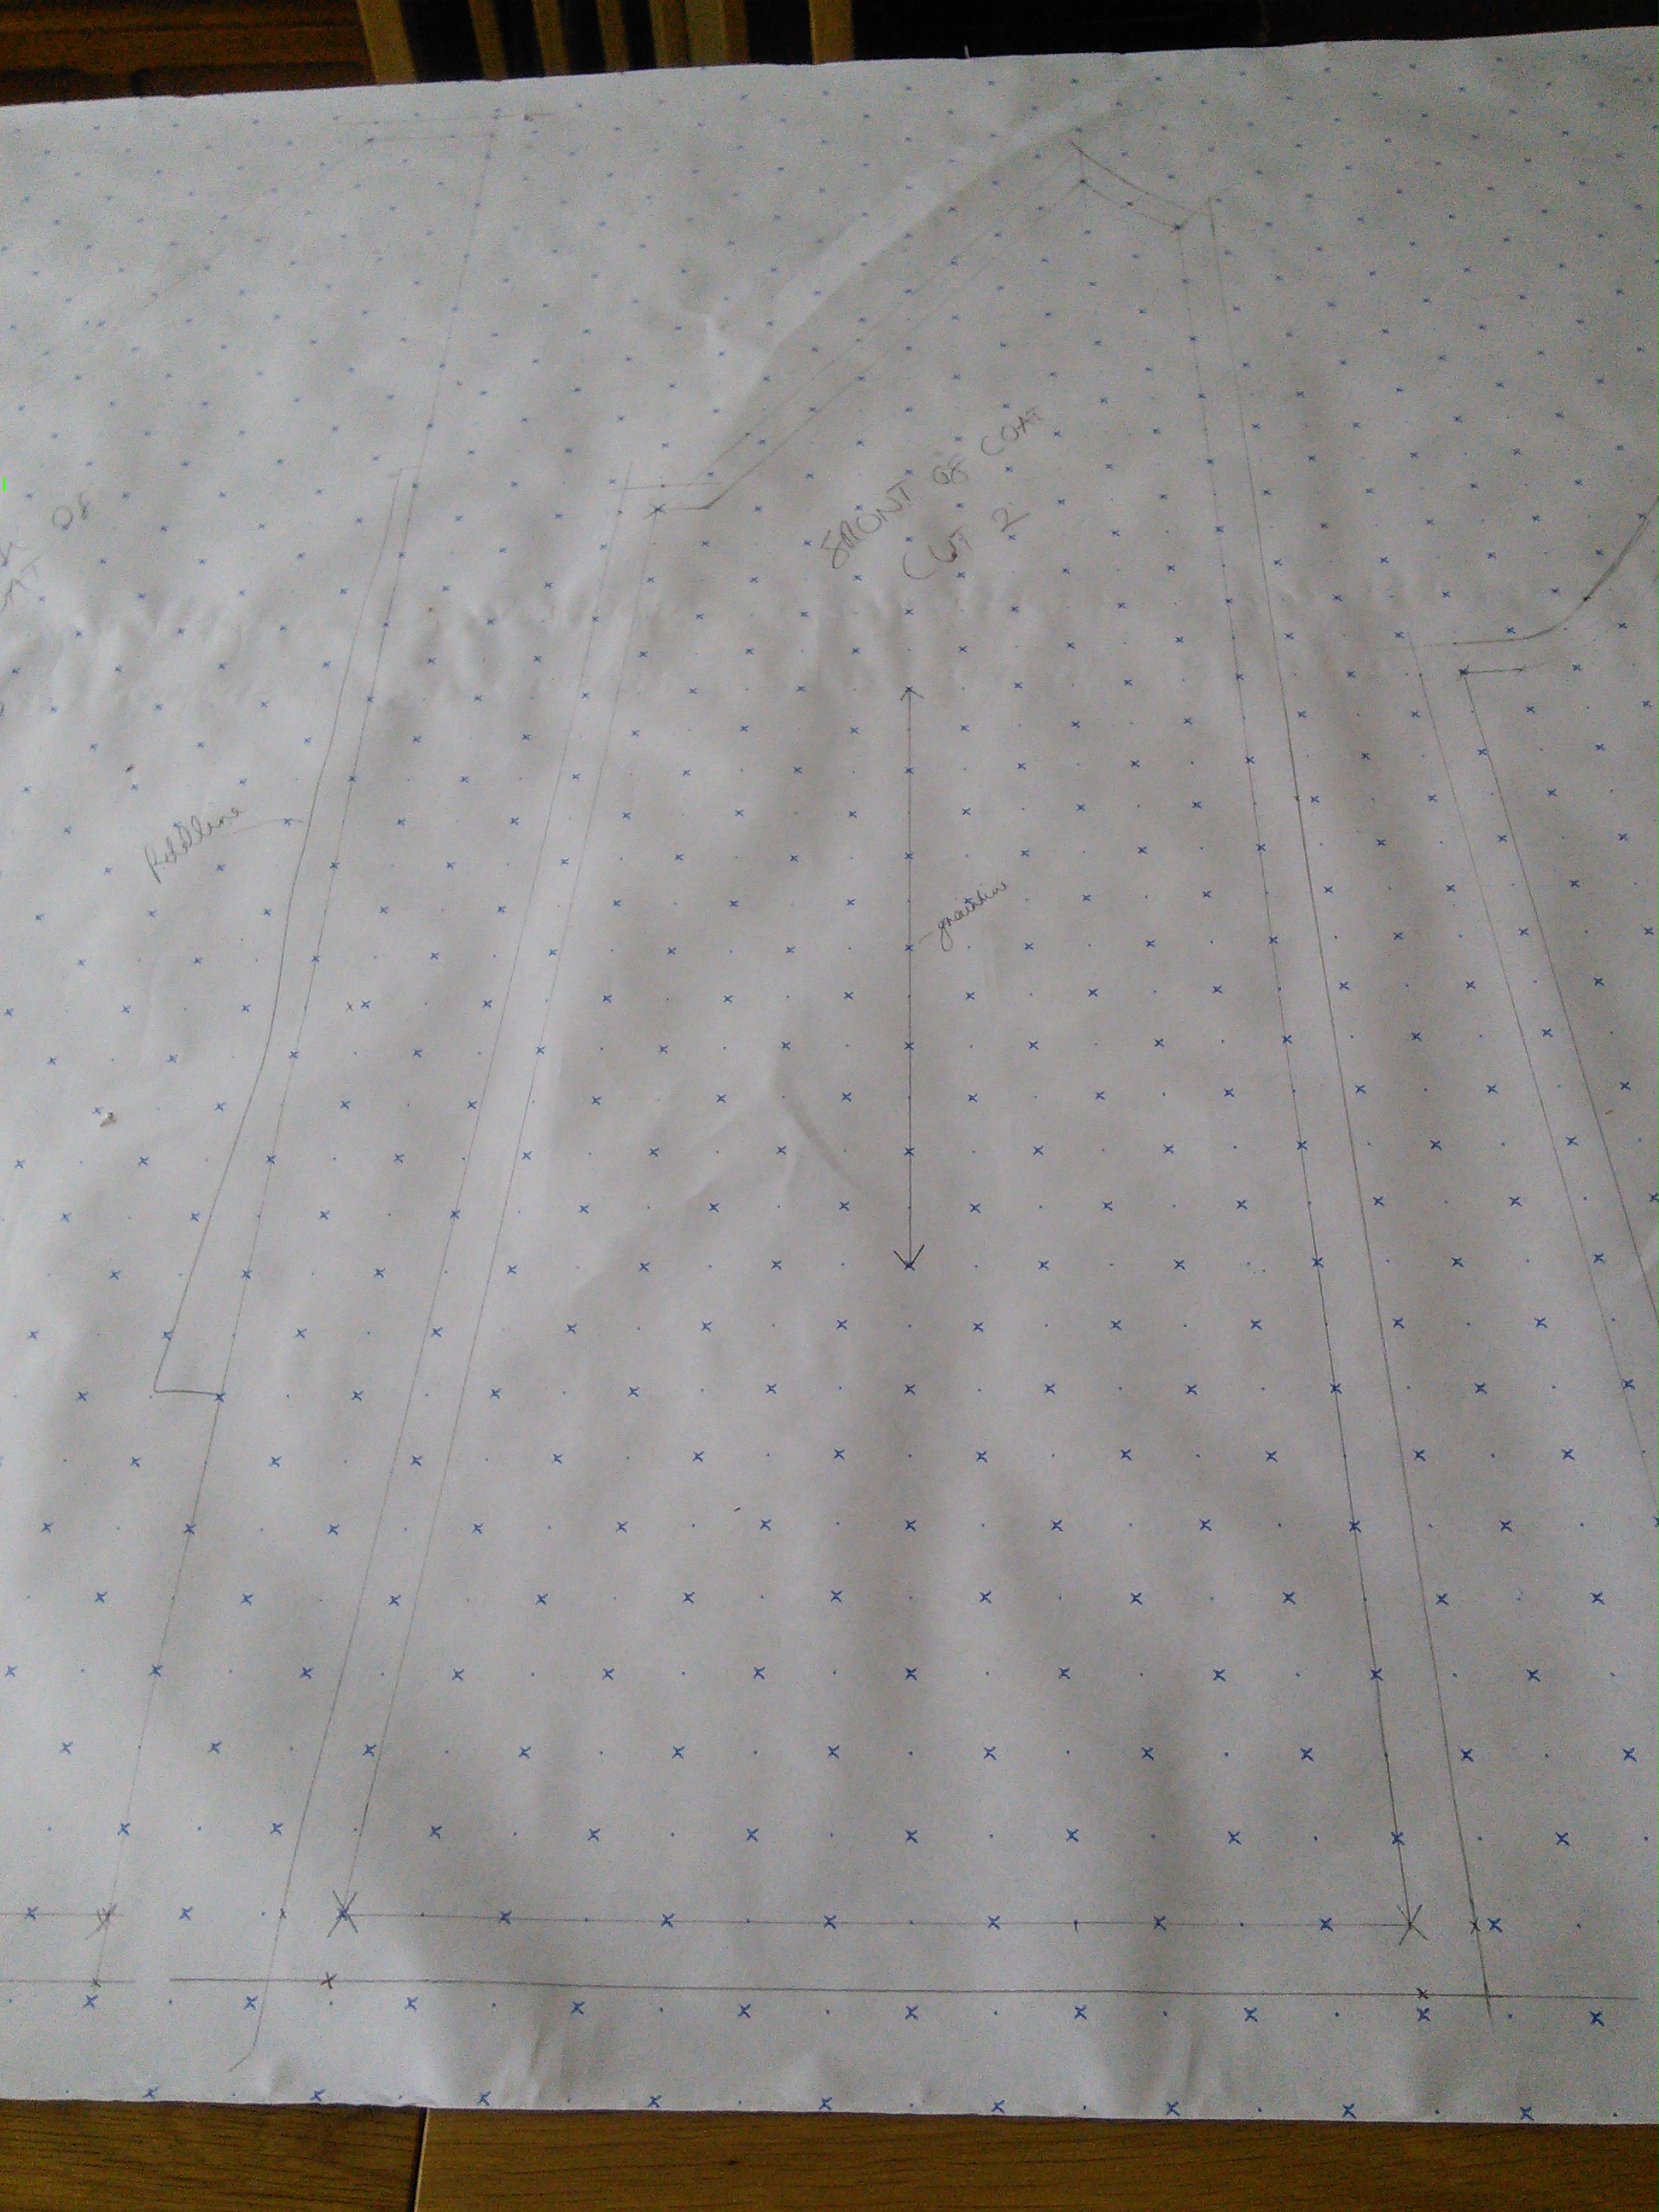
2) When you have traced around each piece, neaten the lines with your ruler to create smooth edges. This may take some work and making a line of best fit! If there are curved lines (see sleeve cap opposite), e.g. around the neck or at the top of the sleeve, use your pattern master or French curves to help you.
3) To create the back lining piece, fold this knitted piece in half and add about 2-3 cm in width to create a pleat at the centre back (see below):

4) When the edges are smooth, extend the length of each traced piece by about 4cm so that you can create a hem later.
5) Now add a 1.5cm seam allowance to each pattern piece, around the entire edge, EXCEPT for the back. The back will be cut on the fold, so do not add seam allowance to the centre, i.e. where you’ve added extra for the pleat. Instead, mark the beginning of the pleat extension so that you have a guide when preparing your fabric.
6) When seam allowances have been added, place a grainline (see above) on all pieces that will not be cut on the fold. Because you’ve already vertically aligned your tracing, you can use the dots and crosses to draw a perpendicular straight line.
7) Now that the pieces are prepared and look vaguely like shop-bought dress patterns, you’re ready to cut them out, ready for the fabric. Here’s how mine looked, laid out on the fabric but before pinning and cutting:

* When cutting out the back, make sure that you mark the centre, i.e. the fold, and the beginning of the pleat.
8) I overlocked (serged) my edges immediately after cutting out, but if you don’t have an overlocker (serger), don’t worry. You can finish the edges as you go with good old zigzag stitch, a double line of stitching…it is up to you.
9) After cutting out, I created an inverted box pleat at the centre back (see diagram below). Reinforce the pleat by making some ‘on the spot’ running stitches between the two pieces.

10) Next, machine stitch the pieces together. I did the raglans first, then the side and sleeve seams. This enabled me to sew in one continuous line from hem edge to sleeve edge.
11) Press seams open and insert lining into coat to check the fit (if you have a dress form, it could be helpful here. Secure with pins at the armholes and at the top of the raglan seams. Then try on the coat, being mindful of the pins!
12) Mark the position for the hem as best you can (try to get someone to help you if you are wearing the coat whilst fitting. If not, work flat and measure up from the bottom edge). It should be folded over twice for the body and sleeves, and finish about 3cm up from the finished edges of the coat. Trim fabric if you need to. The main thing is that the lining doesn’t peek out at the bottom and look untidy.
13) After creating the hem, press to finish. Then press over the 1.5cm seam allowance at the front edges, sleeve tops and back neck.
14) Now to insert the lining proper – nearly there! To do this I secured the lining at the armholes and the top of the raglan seams with some on the spot stitches. Then, the lining sleeve hem to the edge of the sleeve seam (approx 3cm from edge as in point 12) then oversewed the pressed edges around the inside perimeter of the coat. Ease in any fullness at the back neck; let the skirt of the lining hang free.
15) That’s it! That’s how I lined the coat. We are THRILLED with the results 🙂

This was a great challenge for me, but I’m glad it all worked out well. If you are a knitter with sewing skills, I recommend doing this for heavy outerwear garments – or even if you fancy stretching yourself a bit. The one detail I could’ve included to be more professional was to add balance markers to the pattern pieces, but in the end I just used my eyes and trusted myself to measure and cut accurately (read: got slightly lazy at the final hurdle). Luckily – happily – it worked out in the end, and my friend finally has her bespoke coat after waiting so patiently. 🙂
So there you have it – I hope this has helped you to figure out how to line a knitted coat of your own. Let me know if you give it a try 🙂


